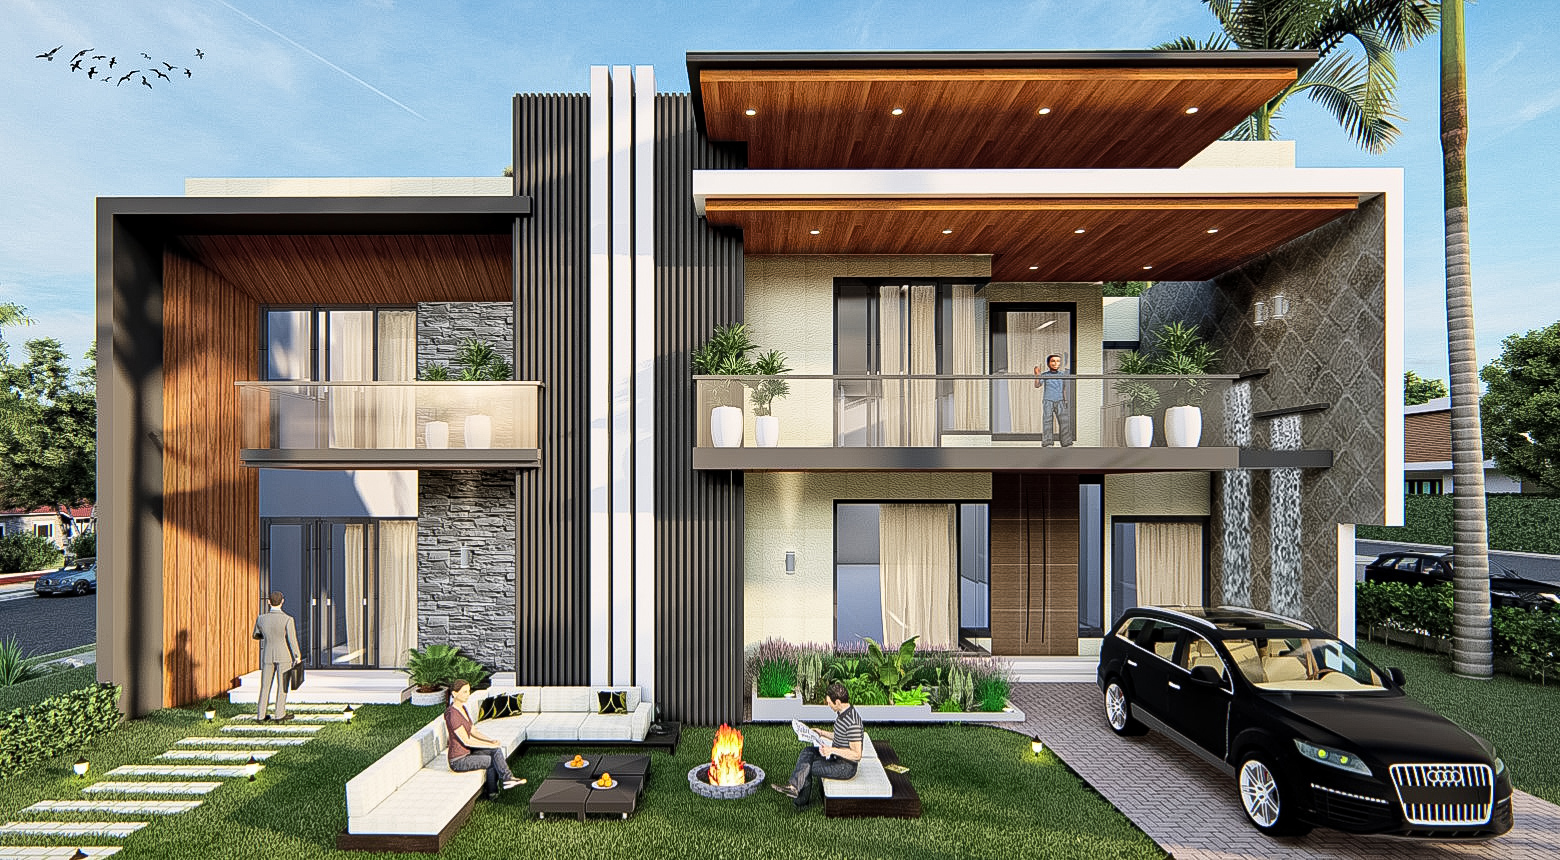
Every photoreal render that leaves our studio moves through the same seven steps. The discipline of the process is what makes the output predictable — same brief, same artist, same software, same quality every time. This post walks you through what actually happens between the moment you send us a CAD file and the moment we hand back a finished frame.
Step 1 — Inquiry and brief
The cycle starts with a conversation. WhatsApp, email or a call. We need to know: what is the project, where, what file format are you on, how many views, what mood/style, what deadline. We ask for reference images of buildings or interiors you like the look of — three to five is plenty. Within an hour we come back with a quote and a turnaround commitment.
Step 2 — File handoff and NDA
You send us your CAD, SketchUp, Revit or PDF files plus material references. If confidentiality matters, we sign your NDA before any file moves. WhatsApp works under 100 MB; WeTransfer or Google Drive for anything larger.
Step 3 — 3D modeling
We rebuild your geometry to render-quality standards. This means clean topology, proper unit setup, joinery as actual 3D geometry rather than 2D symbols, and proper UV mapping for materials to come. For a typical residential project this takes 1–2 days. For complex commercial or hospitality, 2–4 days.
Step 4 — Material and texture assignment
Every surface gets a physically-based material — diffuse, roughness, normal, displacement, sometimes subsurface scattering for stone and skin. We work from your supplier links or sample photos where available, or our curated PBR material library otherwise. This step is where interior renders earn their reputation for difficulty: a hundred materials in a single living room is not unusual.
Step 5 — Lighting setup and camera angles
The single biggest difference between an average render and a great one is lighting. We set sun position, sky model, time of day, interior lighting (warm vs neutral vs cool), accent lighting (track lights, pendants, cove lighting). Camera angles are set to your preferences and to lensing decisions our art director makes — focal length, height, tilt, atmospheric haze.
Step 6 — Rendering and post-production
The render itself runs on our render farm — typically overnight for a hero exterior, several hours for an interior. The raw render is then post-processed in Photoshop: colour grade, atmospheric depth, sky enhancement, entourage (people, cars, plants), and final sharpening for the target output medium (screen, print, hoarding).
Step 7 — Review, revisions and final delivery
You see a draft preview by day 3 of a 5–10 day project. We collect your feedback in one consolidated round, revise, and deliver a near-final by day 6. One more revision round, then final delivery at high resolution in PNG, JPG or your preferred format.
What this looks like in practice
For a single exterior hero view of a residential project, this seven-step cycle takes 5–8 business days. For a set of 6 interior renders of an apartment, 8–12 business days. For a 90-second walkthrough, 14–18 business days.
See our visual process page for the same content as a graphic, and turnaround benchmarks for service-by-service times.
How to make the process faster
Send clean files. Send clear references. Designate one decision-maker. Consolidate feedback. Pay for rush when the deadline is real. Our CAD prep checklist covers this in detail.
Ready to start a project? Talk to us on WhatsApp at +91 96467 24313 or email danish@slateconcepts.com.