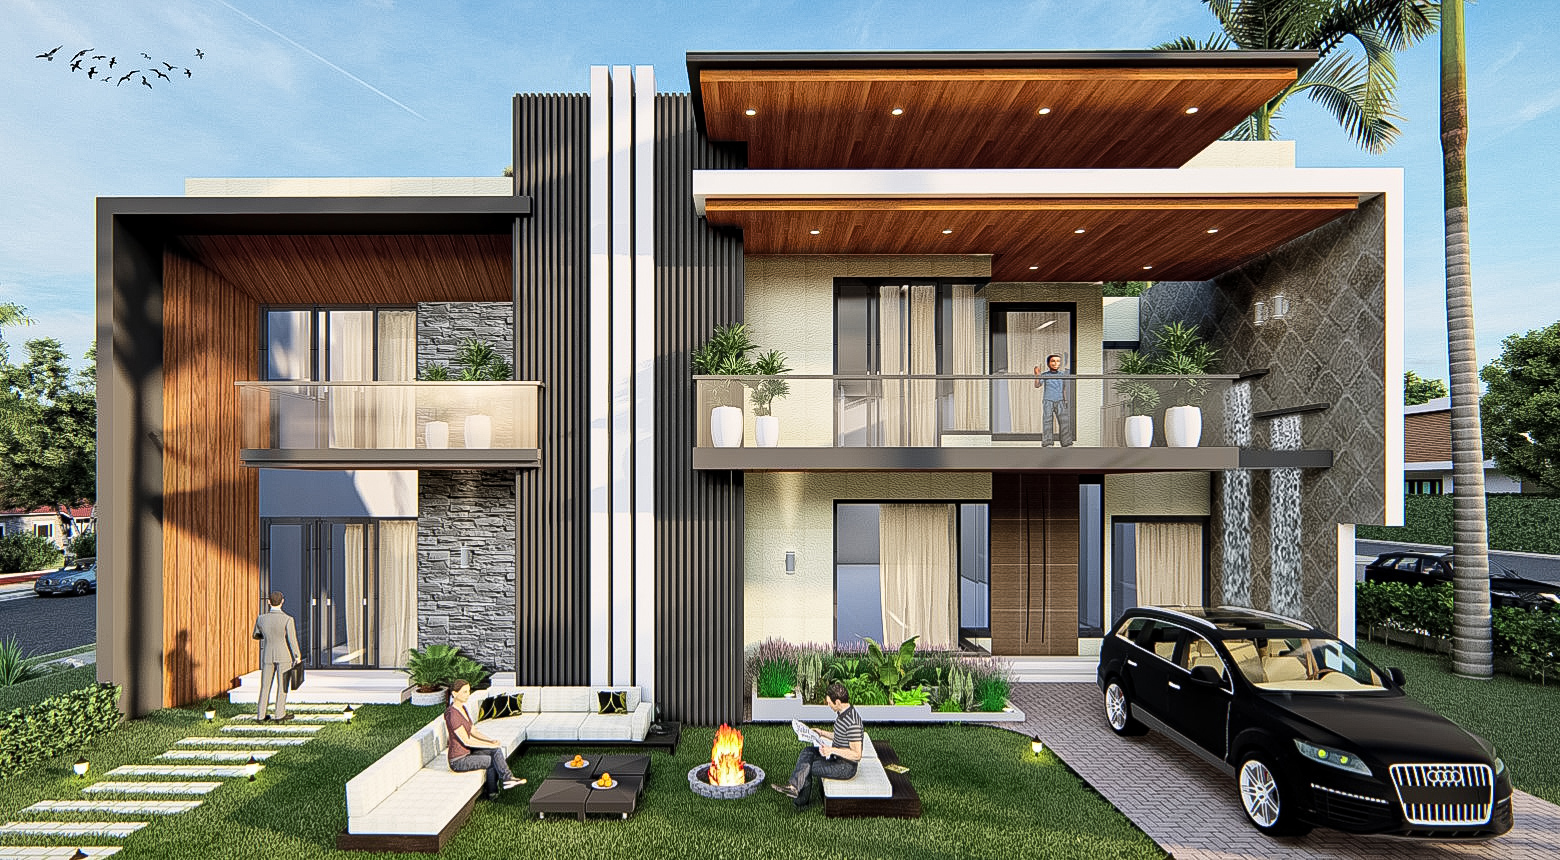
The interior designers who consistently close clients are not always the most talented designers. They are often the ones who give clients the clearest preview of what they are paying for. Photoreal 3D renders close the visualisation gap that mood boards alone cannot — and they protect your fee from the change-order spiral during execution.
The visualisation gap
Most clients cannot read a floor plan. They cannot translate a 4-inch material swatch into the way a 12-foot wall will read. They cannot picture how an evening light fixture will pool on a sofa. Mood boards help, but they are abstractions. A photoreal render is not. It is a frame from the future.
Where renders fit in your design process
Concept stage
One quick render per major room — even at slightly lower fidelity — to confirm direction. This stops the dreaded "I thought we were going darker" conversation in week 8.
Development stage
Hero render of the living room and master bedroom (or restaurant dining and bar; or showroom hero) at full fidelity, with the agreed material palette locked in. This is your client-approval render.
Material lock-in
Variant renders showing the same view with two or three material options — flooring, wall colour, joinery finish. Lets the client choose with certainty rather than guess from samples.
Final presentation
Full set of 6–10 photoreal renders covering all major spaces. This is the deliverable that closes the project.
The types of interior renders that work hardest
- Hero living room or dining — the headline frame.
- Master bedroom at evening — emotional, lifestyle-driven.
- Kitchen daylight — pragmatic, function-driven.
- Lighting variants — same view, warm vs neutral, to pick mood.
- Material studies — same wall, three flooring options side by side.
- 360° tour of the hero room — for the client who wants to "stand inside" before signing.
Workflow: mood board → render → close
- Build the mood board with the client (Pinterest, Milanote, paper).
- Sketch the floor plan and material palette.
- Send all of the above to a rendering studio. Our interior service works directly from mood boards.
- Receive draft render in 5 business days. Refine with one revision round.
- Present to client. Get approval. Move to procurement.
Pricing the render into your fee
Most successful interior designers we work with bake the render fee into their design fee. A typical residential apartment project at our standard rates carries ₹100,000–₹300,000 in render costs (8–12 views). On a project with a ₹10–25 lakh design fee, that is comfortably absorbed and pays for itself in reduced change orders alone. Full cost guide here.
Why renders reduce change orders
Change orders during execution cost 5–10x more than getting the same decision right at the design stage. The most common cause: a client who approved a mood board did not understand what they were approving. A render eliminates that gap. The client sees what they are signing, and the "actually I wanted lighter timber" conversation happens before the timber is bought, not after.
Common designer mistakes
- Skipping renders to save cost. Then losing 3x the saving in change orders.
- Using only one lighting mood. Your client wants to see warm and cool. Pay 50% extra for the second variant; it closes faster.
- Sending unfinished renders to clients. Wait the extra day. Clients judge what they see.
- Not getting a 360° tour for hero rooms. The single most powerful close on hesitant clients.
If you are an interior designer tired of the change-order spiral, see our designer partnership or talk to us on WhatsApp at +91 96467 24313.